I wanted to further test tessellation and also learn how to
model rocks; I’ve heard this can be an extremely difficult process so I wanted
to get it out of the way early.
I watched many, many, many tutorially on how to create game
ready rocks. Below I am simply going through all of the processes I’m not
actually trying to make a good game ready rock. I’m just trying to memorise the
process so that I can add these processes to my work flow. I can come back to
these later maybe and make the rocks for our level. For now I’m just making
place holders for Jake to populate our mock cave system with.
I’ve learnt that when making rocks for use in games you make
the rock as reusable as possible. An entire cave system in a game might be made
from two rocks that have bean cleverly flipped and rotated in such a way to
make it difficult to sea repeating features.
First you model a high poly rock in Z-Brush. You can start
from a base mesh made in 3DS-Max, or you can jump straight into a 3D Primitive
in Z-Brush. The two most important brushes here are the “Clay Build-up Brush”
and the “Trim Dynamic Brush”. Use these to make a good silhouette at first and
then sub divide as the details your making get smaller. It’s important to stay
at the lowest subdivision you can at any point otherwise your “Smooth Brush”
which you are reliant upon though out sculpting can quickly become unusable.
It’s
important to be looking at a rock reference throughout this process; over wise
you might end up with a rock similar to mine if you stray from your ref.
Once you have all the relatively large details and features,
you now have to add macro surface detail. This can be done by creating an Alpha
in Photoshop and then using it to create surface detail in Z-Brush. What I have
done below is used the “Surface” modifiers. This Tab allows you to pick a rock
type and then apply this to your whole sculpt, and then using the sliders in
this modifier you can further edit the surface quality.

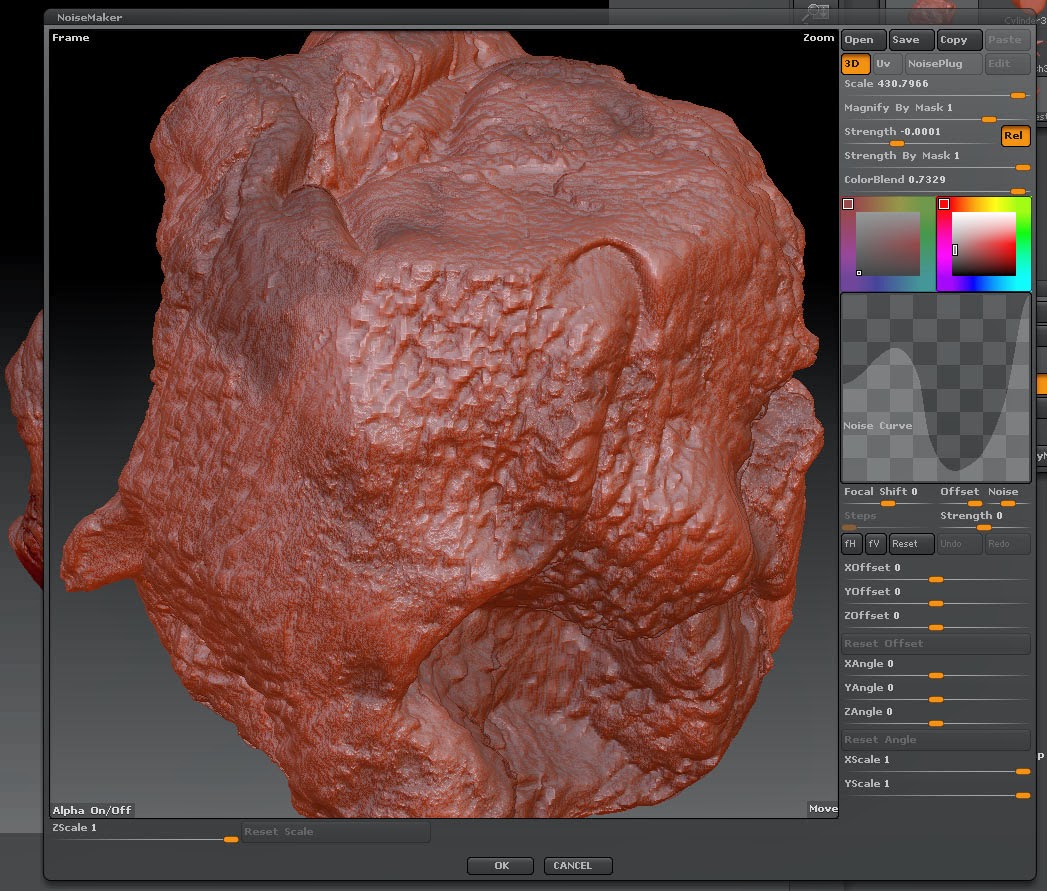
Damn this is an ugly rock.

Now you have the high poly of your rock. This is where
during this process I got a bit lost. I knew that I had to keep this high poly
rock and also have a low poly version of this same rock. But both these rocks
must share the same unwrap coordinates.
What I did was try and unwrap this high poly rock in Z-Brush
straight away, this failed due to an extremely high tri count crashing Z-Brush.
So I then first decimated it significantly. It’s really amazing how you can
decimate a mesh to within 10% of its original size without losing any surface
detail. I could now unwrap this mesh in Z-Brush, this was extremely simple.

What I did to create my finale rocks was not the correct way
of going through this process. What I finally did was further decimate the mesh
and then re-unwrap it, I then saved this as an OBJ. I then went into X-Normal
and backed the exported unwrapped high poly onto the unwrapped low poly
although they were unwrapped at separate times. This did actually create a
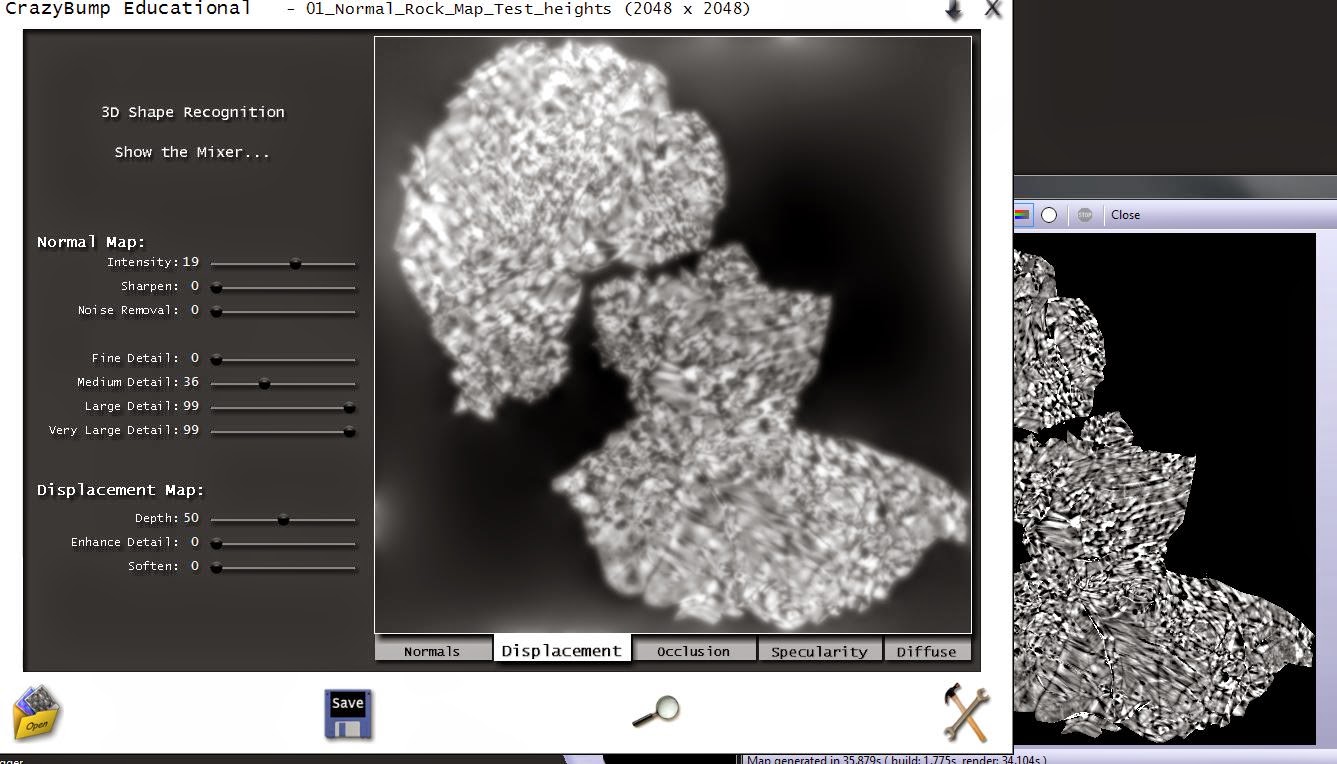
normal map, I also backed out a Height map.

The heightmap was extremely harsh so I smoothed it off a bit
in crazy bump.

These are my finished crappy rocks. These might not be very
good but they served their purpose which was to teach me a whole new bunch of
processes. I still have allot to learn here especially with retopologizing.
These rocks will serve their place though, I was asked to create some place
holder rocks, some basic shapes made in 3DS-Max would probably have sufficed. Instead I learnt a bunch of new processes that
I can add to my work flow where needed.
If
I was making game ready rocks I would have also poly painted my high poly
model, probably using “Spot light” and exported the Albedo from Z-Brush. I
could also use Z-Brush or X-Normal to bake an AO
Map; I don’t currently know the best way to create an AO. Up to this point I
have been making them manually in Photoshop, or I’ve backed them out of
X-Normal. I know that you can also use Z-Brush or Crazy bump, but I haven’t
compared the results between all these methods yet.

I tested several different Tessellation methods. From this
moment on I pretty much tested tessellation on pretty much every texture I did
just to try and get better understanding of it. You’ll see in allot of the
upcoming textures tessellation will be turned on even if the material doesn’t
have correct Nodes for tessellation. This would be because at some point I
probably experimented with tessellating the material.
I have since worked out how to correctly bake down from a
high poly. If you start with your high poly simply export this (Decimate it if
its size is too big for your baking software), Then create a low poly of this
and unwrap it, then bake these together. The high poly doesn’t need an unwrap.
No comments:
Post a Comment