Monday 29 February 2016

FMP: I've finished the car for now


The Link below is to my Artstasion page for this vehicle, on this page there is a Marmoset View. 

https://www.artstation.com/artwork/o9EXW

For the Marmoset viewer I also baked out an AO map for the whole vehicle. This is ran through a second material ID channel. 

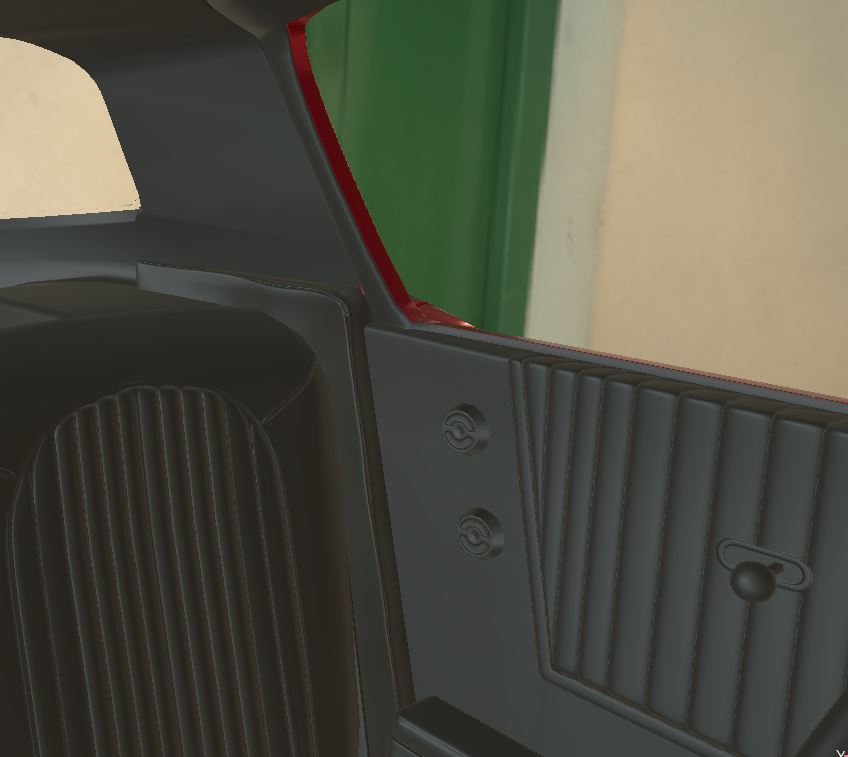
In the above images and the viewer the car has 1x2048 set for the interior, 1 x 1024 Albedo for the car paint (other channels done in Engine) and the AO is a 2048. 

Chrome and glass were done also in the Marmoset Engine. 

59,603 triangles. 

Over all I am happy with this vehicle project, I've learnt allot about what it takes to make a quality clean vehicle, including flow lines, creating seams, Sub-D workFlow, Average normals, Marmoset, close reference following e.t.c. 

I can find issues with this mesh, if I have an opportunity prior to the finale deadline it would be nice to fix more of the issues currently visible. But for now it's time to model an off road early american COE Truck. 

Tuesday 23 February 2016

FMP: Trying to fix the side


I tried to fix these issues, but failed. I've also remade this panel, and again failed to remove these imperfections, I am now remodeling this panel again, but this time I'm taking extreme care to never move individual vertices. 


I've been trying to use the Boolean tool as much as I can in order to cut accurate forms in the mesh. But I've been finding that the tool isn't very accurate. When using the Boolean function I will normally duplicate the mesh I'm using to cut out the hole, all the meshes involved have their pivot points set to 0.0 on all axises so I can accurately place the meshes exactly where I want them in the scene. I've found that after Booleaning if I then move the duplicated mesh that I used to cut out the hole back to 0.0 that the hole doesn't actually follow the exact form of the mesh. Thus the tool can not be relied upon to create accurate forms. 


Well, the remodel didn't go to plan.


I've started again with this area, Here I have simply made a clean smooth surface. Sadly though I have issues here as well.


Ok finally I'm starting to get some progress here. The area around the vents is mostly smooth, the vents themselves though still need work.  


I've got this down to there only being one crease at the start of the vent. I'm going to try and add more geometry to the shape of these vents now as well. 

I tried  to get rid of the crease at the start of the vents by adding a chamfer, this sadly did not work. 
Also the connections that ran over the top of the car are also visible. 


I'm going to have to stop this process and pick the best of the shells that I have created, simply because I must move on from this area. 


I'm going to go with this front quarter, with single harsh crease at the start of the vent. At least it's neat, also the panels appear mostly flat when viewed with this surface material quality. 
I


Wednesday 17 February 2016

FMP: Highpolying


Door lining 

Hood Vents


Top of dash


Week 5: Day 2 - Problems


After looking at the above model I thought that I had done a good job of removing pinching and general shading errors.  

Because of this I moved on to the interior and then unwrapped and packed the whole car. 

It was at this point that I was made aware of the real challenge when creating a glossy car model body.  This is how reflections and light will completely break at the slightest imperfection causing extremely distorted reflections.


In this image the panel below the side crease that runs the length of the car appears to be flat and smooth. I now know that simply getting the car looking clean at this point has very little bearing to how light will react to the car when it’s in an environment with a glossy finish.


The above image clearly shows that the car shell is far from finished. I’m not actually shore how to fix these issues, the errors are extreme and seam inconsistent with the slight errors that must exist in the geometry. I don’t know if this can be fixed by simply moving individual vertexes until the area is smoother, the tolerances here might be so fine that this will be impossible to do by hand. This could also be a problem with the normals. 

Tyres

Prior to these revelations I did make several high poly tyres and backed these down. 


First high poly tire


Second bake. I now need to come up with a better design for the centre of the tire as this one isn't backing down very well.  


Thursday 11 February 2016

FMP: Still Modeling

Vents Below Windscreen


I was shown a quick way of removing tries from a wheel. This is to Select an inner edge and then to go to modeling drop down and then Dot Loop, this will select every over edge along that line of edges. Then you can remove these edges by clicking collapse. 


This didn't actually work very well, shadows are being pinched up every edge making up the centre of the tyre. 

I finally did the front window , i've been putting it off. 


I actually did this about a week ago. I've since retopologized, done the interior, and unwrapped the majority of the car. 


These images are showing the interior "Tub", All these parts in the image are also unwrapped, and have had the Average normals scripped ran on them.